
videototext.io vs VideoToTextAI: Link-Based Video-to-Text Workflows for Transcripts, Subtitles, Captions, and Repurposing (2026)
 Video To Text AI
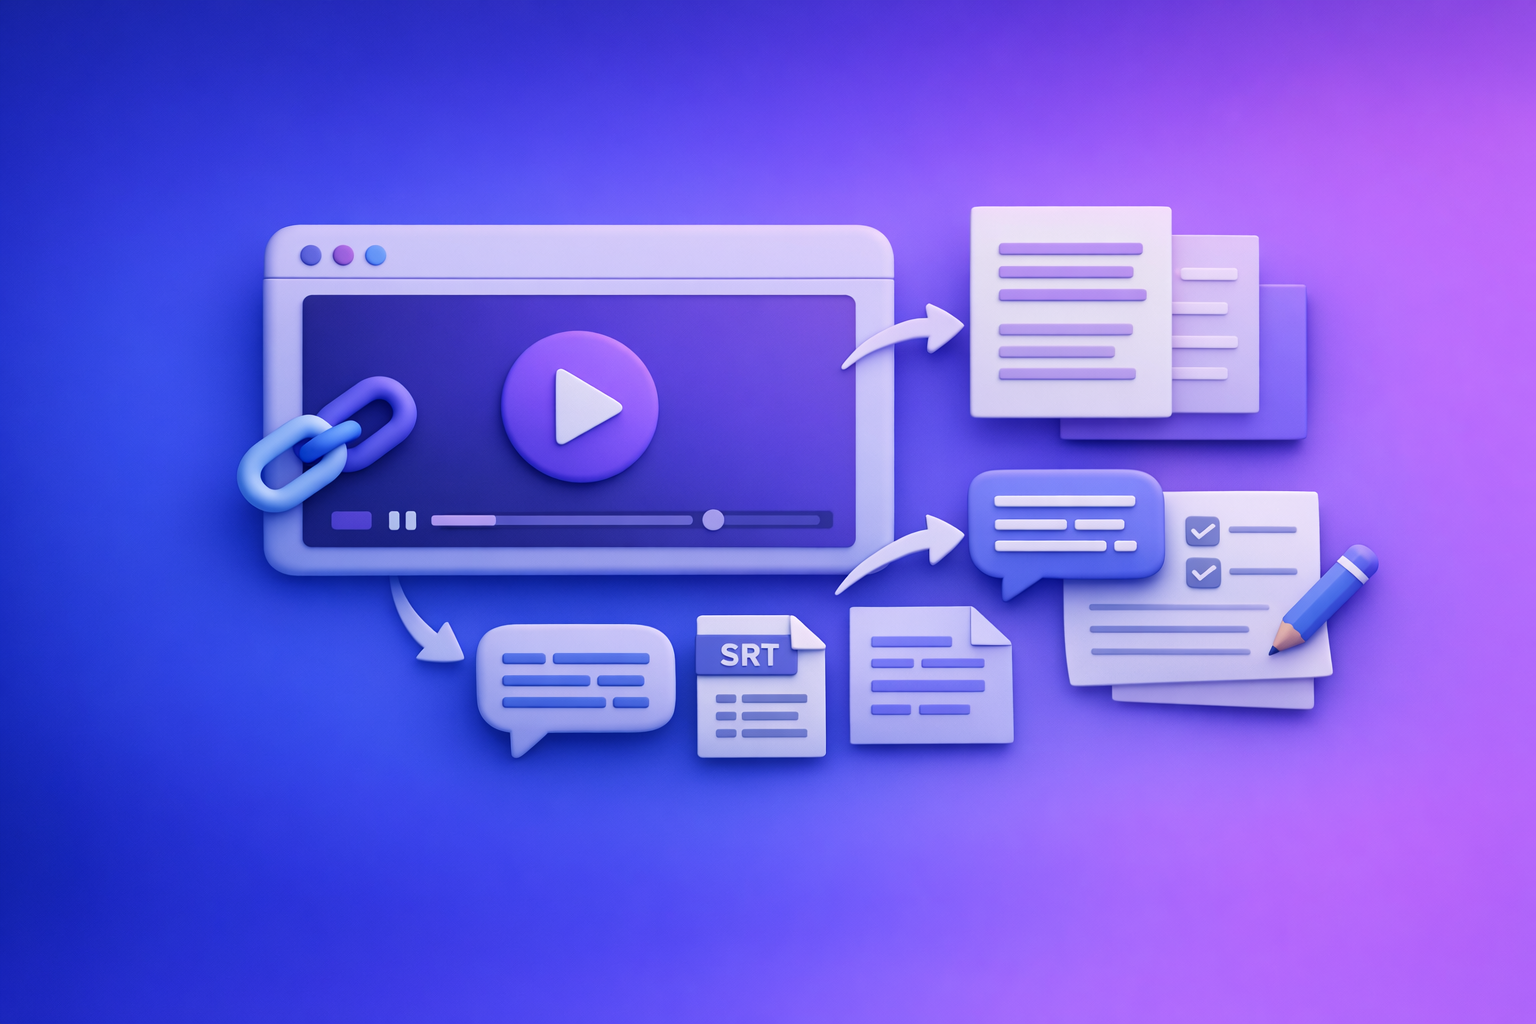
videototext.io vs VideoToTextAI: Link-Based Video-to-Text Workflows for Transcripts, Subtitles, Captions, and Repurposing (2026)
If you’re searching videototext.io, you’re trying to turn a video into usable text fast—usually from a link. The modern answer is a link-based workflow that outputs transcripts + subtitles (SRT/VTT) + repurposed content without downloading and re-uploading files.
Downloading video files is an outdated workflow: it adds friction, breaks momentum, and doesn’t scale for creators or teams. Link-based extraction is the future of creator productivity because it turns “a video somewhere” into “publishable assets everywhere” in minutes.
What people mean when they search “videototext.io”
Most searches for videototext.io are not about “transcription” in the abstract. They’re about getting from a video to something you can publish, edit, quote, or repurpose.
The common jobs-to-be-done (JTBD)
People typically want one (or more) of these outcomes:
- Copy/paste text from a video for notes, research, or documentation
- Subtitles/captions for YouTube, Reels, TikTok, or web players
- Timestamped quotes for editing, compliance, or content clipping
- Translation/localization for multilingual audiences
- Repurposed content: blog posts, newsletters, LinkedIn posts, summaries
The fastest path: link → transcript → subtitles → repurposed assets
A practical workflow looks like this:
- Paste a public video link (YouTube/Instagram/MP4 URL)
- Generate a clean transcript (optionally with timestamps/speakers)
- Export SRT/VTT for captions/subtitles
- Reuse the same transcript to create blog + social + summary
This is why link-based matters: you’re not “converting a file,” you’re building outputs from a source URL.
When a “free video to text converter” is enough vs when you need a workflow
A free converter is enough when:
- You need a rough transcript for personal notes
- You don’t care about subtitle sync or export compatibility
- You won’t reuse the transcript for publishing
You need a workflow when:
- You publish regularly and need repeatable steps
- You require SRT/VTT that imports cleanly into editors/platforms
- You need iteration (fix names, punctuation, speaker labels)
- You want repurposing outputs from the same transcript
Quick comparison: videototext.io vs VideoToTextAI (at-a-glance)
This comparison focuses on what actually impacts execution: inputs, outputs, iteration, and repeatability.
Input methods (link-based vs upload-based)
- videototext.io: commonly used as a quick converter; may support links and/or uploads depending on the page/tool flow.
- VideoToTextAI: built for link-based workflows so you can go from URL → transcript/subtitles/repurposing without the “download → upload” loop.
Brand POV: downloading files is legacy behavior. Link-first is faster, cleaner, and easier to standardize across a team.
Outputs (TXT, timestamps, SRT, VTT, captions, repurposed content)
Look for:
- Plain text (TXT/Doc) for editing and publishing
- Timestamps for quoting and subtitle alignment
- SRT for most editors/platforms
- VTT for web players/accessibility
- Repurposed drafts (blog/social/summary) from the same transcript
Editing + iteration (fixing names, punctuation, speaker labels)
A usable workflow supports:
- Search/replace for proper nouns and brand terms
- Fast cleanup of punctuation and paragraphing
- Optional speaker labels (diarization) for interviews/podcasts
- Re-export without redoing everything
Translation support and subtitle localization
If you publish globally, verify:
- Language selection (not just auto-detect)
- Translation output quality and consistency
- Subtitle export in the same formats (SRT/VTT) after translation
Speed, limits, and team workflows (single use vs repeatable pipeline)
Evaluate:
- Max duration limits and queue times
- Whether you can run the same workflow repeatedly
- Whether outputs are consistent across videos (important for teams)
Data handling basics (what to verify before uploading/linking)
Before you process any video, verify:
- Whether the tool stores content and for how long
- Whether you can delete outputs
- Whether links are fetched securely
- Whether you’re allowed to process the content (rights/permissions)
Step-by-step: Convert any public video link into clean text (VideoToTextAI workflow)
This is the practical, repeatable approach for transcripts, subtitles, and repurposing—without downloading video files.
Step 1 — Choose the right source link (YouTube, Instagram, MP4 URL)
Use the most direct, stable URL you can.
Public vs private links: what will and won’t work
Typically works:
- Public YouTube videos
- Public Instagram posts/Reels (depending on access)
- Direct MP4 URLs that load without authentication
Typically won’t work:
- Private/unlisted content requiring login
- Links behind paywalls or expiring tokens
- Embedded players without a direct source URL
Audio quality checks that improve accuracy (before you transcribe)
Do these quick checks first:
- Speech-to-music ratio: if music is loud, accuracy drops
- Overlapping speakers: expect diarization errors
- Room echo: reduces word boundary clarity
- Clipping/distortion: can’t be “fixed” by AI reliably
If you control the recording, prioritize a clean mic track. If you don’t, plan a faster edit pass after transcription.
Step 2 — Generate the transcript (settings that matter)
Your settings determine whether you get “text” or “publishable text.”
Language selection and auto-detect pitfalls
- Set the spoken language explicitly when possible.
- Auto-detect can fail on mixed-language content, heavy accents, or jargon.
- If accuracy is off, rerun with the correct language selected.
Timestamps: when to enable them (and when not to)
Enable timestamps when you need:
- Subtitles/captions (SRT/VTT)
- Quote references for editing or compliance
- Clip extraction and content mapping
Skip timestamps when you need:
- A clean reading transcript for blogs/notes
- Faster editing without timecode noise
Speaker separation: when it helps vs adds noise
Use speaker labels for:
- Interviews, podcasts, panels, meetings
- Long-form content where “who said what” matters
Avoid speaker labels for:
- Fast-paced clips, Reels, street interviews
- Content with frequent interruptions or crosstalk
Step 3 — Clean the transcript for publishing (fast edit pass)
Aim for a 10–15 minute cleanup, not perfection.
Fix proper nouns, acronyms, and brand names
Do a targeted pass for:
- Names (people, companies, products)
- Acronyms (spellings and capitalization)
- Industry terms (consistent formatting)
Tip: keep a “house glossary” for recurring terms so every transcript matches your brand.
Remove filler words without breaking meaning
Remove selectively:
- “um,” “uh,” repeated “like,” false starts
- Redundant phrases that don’t change meaning
Keep:
- Intentional emphasis
- Short rhetorical pauses that affect tone (especially for captions)
Formatting rules for readability (paragraphing + punctuation)
Use simple rules:
- New paragraph on topic shift (every 2–4 sentences)
- Add punctuation to reduce run-ons
- Convert long monologues into scannable blocks with short paragraphs
Step 4 — Export the right format for the job
Export format mistakes are the #1 reason captions fail in editors.
TXT/Doc: blogs, notes, research
Use plain text when you need:
- Blog drafting and editing
- Research notes and quoting
- Internal documentation
SRT: YouTube, Premiere Pro, CapCut
Use SRT when you need:
- Broad compatibility across editors
- Standard subtitle timing blocks
- Easy upload to YouTube and common NLEs
VTT: web players, accessibility workflows
Use VTT when you need:
- HTML5/web video players
- Accessibility pipelines and some LMS platforms
- Styling support in certain web contexts
Step 5 — Repurpose the transcript into content assets (same link, multiple outputs)
This is where link-based workflows win: one source link becomes multiple publishable assets.
Blog post draft from the transcript
- Extract the main thesis and supporting points
- Add missing context (definitions, examples, sources)
- Convert spoken structure into headings and sections
Related internal resource: Video to Text: Convert Any Video Link into a Transcript, Subtitles (SRT/VTT), and Repurposed Content
Social posts (LinkedIn/Twitter) from key moments
- Pull 3–5 “quotable” moments
- Turn each into a short post with one takeaway
- Keep one clear CTA (don’t stack asks)
Related internal resource: Instagram Content Repurposing: How to Turn Reels into SEO Blog Posts
Summary + key takeaways for newsletters and internal docs
- 3–5 key points
- 1 contrarian takeaway (what most people miss)
- 1 next step (what to do now)
Implementation playbooks (copy/paste workflows)
These are execution-first templates you can reuse.
Playbook A — YouTube video → SEO blog post (link-based)
Use this when you want organic traffic from video content.
Outline extraction: headings from spoken structure
- Identify topic shifts and convert them into H2s
- Turn examples into H3s
- Keep headings benefit-driven (not “Section 1/2/3”)
Related internal resource: How to Turn Any Video Link into a Transcript, Subtitles (SRT/VTT), and Repurposed Content (Step-by-Step)
Add missing context: examples, definitions, and sources
Spoken content often assumes context. Add:
- Definitions for key terms
- One concrete example per section
- A source or reference when making factual claims
On-page SEO pass: title, H2s, internal links, schema targets
- Title: match intent (“how to,” “vs,” “best,” “template”)
- H2s: include secondary keywords naturally
- Add 2–4 internal links to relevant guides/tools
- Consider FAQ schema targets (questions users actually ask)
Playbook B — Instagram Reel → transcript + captions + post
Reels are short, but the workflow is the same: link → transcript → captions → repurpose.
Related internal resources:
- Free Instagram Transcript Generator (From a Link): Get Reel Transcripts Fast with VideoToTextAI
- How to Generate Subtitles (SRT & VTT Files) for Your Instagram Reels
Hook extraction: first 2 seconds → headline options
Create 5 headline variants:
- “Stop doing X. Do Y instead.”
- “The fastest way to get Z (without A).”
- “Most people get X wrong. Here’s the fix.”
- “If you’re doing X, you’re losing Y.”
- “The 3-step system for Z.”
Caption file generation: SRT/VTT for editing tools
- Export SRT for most editing tools
- Use VTT for web workflows
- Keep captions readable (see Playbook C rules)
Turn transcript into a LinkedIn post with a CTA
Structure:
- 1-line hook
- 3 bullets (key points)
- 1 short “how to apply” paragraph
- 1 CTA (single action)
Playbook C — MP4 → transcript + subtitles (SRT/VTT) for editors
Use this when you’re working with direct MP4 URLs or hosted files.
Segmenting long videos (chapters vs continuous captions)
Choose one:
- Chapters: best for training, webinars, long tutorials
- Continuous captions: best for interviews and narrative content
If your editor supports it, align chapters to topic shifts for faster revision.
Subtitle readability rules (line length, timing, punctuation)
Use these defaults:
- Line length: ~32–42 characters per line
- Max lines: 2 lines per caption
- Timing: avoid flashing; keep captions on screen long enough to read
- Punctuation: add periods to reduce run-ons; avoid ALL CAPS except acronyms
Troubleshooting: common mistakes that ruin transcript/subtitle quality
Most “bad transcripts” are fixable with the right settings and exports.
Problem: transcript is inaccurate
Common causes:
- Wrong language selection
- Noisy audio/music
- Overlapping speakers
- Auto-detect misfires
Fix: improve audio, set language, rerun with timestamps off/on
- Set the correct language explicitly
- If the transcript is messy, rerun without timestamps for a cleaner read
- If you need subtitles, rerun with timestamps and prioritize sync
Problem: subtitles are out of sync
Common causes:
- Wrong timestamp generation
- Editor expecting different timing assumptions
- Source video changed after subtitle generation
Fix: regenerate with timestamps; verify frame rate expectations in editor
- Regenerate subtitles with timestamps enabled
- In your editor, confirm you’re importing the right subtitle type (SRT vs VTT)
- If the video was trimmed, regenerate from the final cut link
Problem: speaker labels are wrong
Common causes:
- Crosstalk and interruptions
- Similar voices
- Short clips with rapid turn-taking
Fix: disable diarization for fast-paced clips; manually label key speakers
- Turn off speaker labels for short-form content
- For interviews, label only the main speakers and keep it simple (Speaker 1/2)
Problem: exports don’t import into CapCut/Premiere/YouTube
Common causes:
- Wrong format (SRT vs VTT)
- Encoding issues
- Timestamp formatting differences
Fix: choose SRT vs VTT correctly; validate encoding and timestamp format
- Use SRT for CapCut/Premiere/YouTube in most cases
- If import fails, re-export and ensure standard timestamp formatting
- Avoid editing subtitle files in tools that change encoding unexpectedly
Problem: the link won’t process
Common causes:
- Private link or login required
- Region restrictions
- Non-direct media URL
Fix: confirm public access; try alternate source URL; use MP4 workflow
- Open the link in an incognito window to confirm it’s publicly playable
- Try the canonical share URL (not a shortened/redirected one)
- If you have a direct MP4 URL, use that instead
Checklist: link-based video-to-text workflow (repeatable SOP)
Use this as your standard operating procedure for consistent outputs.
Pre-transcription checklist (accuracy)
- Confirm video is public and playable without login
- Identify spoken language(s) and accents
- Check audio: background noise, music, overlapping speakers
- Decide output needs: TXT vs timestamps vs SRT/VTT
Transcription checklist (settings)
- Set language (avoid auto-detect for mixed-language content)
- Enable timestamps if you need subtitles or quote references
- Enable speaker labels only for interviews/podcasts
Post-processing checklist (publish-ready)
- Correct names/brands/technical terms
- Break into paragraphs; add headings from topic shifts
- Remove filler words selectively (don’t change meaning)
- Export correct format(s): TXT + SRT/VTT
Repurposing checklist (distribution)
- Extract 3–5 key points + 1 contrarian takeaway
- Create 1 blog outline + 2 social posts + 1 short summary
- Add internal links and a single primary CTA to the tool page
Primary CTA: Use VideoToTextAI for link-based transcription and exports: VideoToTextAI
Competitor Gap
What competitors typically miss (and what this post adds)
Most “video to text” pages stop at “upload/convert/download.” That’s not a workflow.
This post adds what teams actually need to execute:
- A repeatable SOP checklist for accuracy, exports, and repurposing
- Concrete troubleshooting for sync issues, diarization errors, and import failures
- Playbooks by use case (YouTube → blog, Reel → post, MP4 → SRT/VTT) instead of generic steps
For more tool comparisons and creator workflows, see: 5 Best Instagram Transcript Generators for Creators in 2026
How to evaluate any “video to text” tool in 5 minutes (scoring rubric)
Use this rubric to avoid tools that create rework.
Accuracy controls (language, timestamps, speaker labels)
- Can you set language explicitly?
- Are timestamps optional and reliable?
- Is speaker labeling optional and usable?
Export compatibility (SRT/VTT correctness)
- Do SRT files import cleanly into YouTube/Premiere/CapCut?
- Do VTT files work in web players?
- Are timestamps formatted consistently?
Editing UX (fast cleanup, search/replace, paragraphing)
- Can you quickly fix names and terms?
- Is it easy to re-export after edits?
- Can you format for readability without manual rework?
Repurposing outputs (blog/social/summary) from the same transcript
- Can you generate multiple content assets from one transcript?
- Can you reuse the same link/source without downloading files?
- Does the workflow reduce steps, not add them?
FAQ
What is videototext.io, and how does it help transcribe video to text?
videototext.io is commonly used as an online converter to transcribe video into text and, in some cases, support subtitles and translation. It’s typically chosen for quick conversions when you don’t need a full publishing workflow.
Can I transcribe video to text from YouTube or TikTok using a link?
Yes—if the video is publicly accessible and the tool supports link fetching for that platform. If a link requires login or is region-restricted, it may fail; a direct MP4 URL is often more reliable.
How accurate are AI video-to-text transcripts, and what affects accuracy most?
Accuracy is most affected by audio quality, language selection, overlapping speakers, and background music/noise. Setting the correct language and using timestamps/speaker labels only when needed usually improves results.
Is there a free way to transcribe video to text, and what are the typical limits?
Free tiers exist, but limits often include duration caps, fewer exports, slower processing, restricted formats, or reduced editing controls. Free is fine for one-off notes; publishing workflows typically need consistent exports and iteration.
What video formats and subtitle formats should I use (SRT vs VTT)?
Use SRT for broad compatibility (YouTube, Premiere Pro, CapCut) and VTT for web players and accessibility workflows. If imports fail, it’s usually a format mismatch, timestamp formatting issue, or encoding problem.
Secondary CTAs (use-case tool pages):
Related posts
Legal Marketing Agency Instagram Reel Competitor Research: Transcript‑First Workflow (Hooks, CTAs, Objections) with VideoToTextAI
Video To Text AI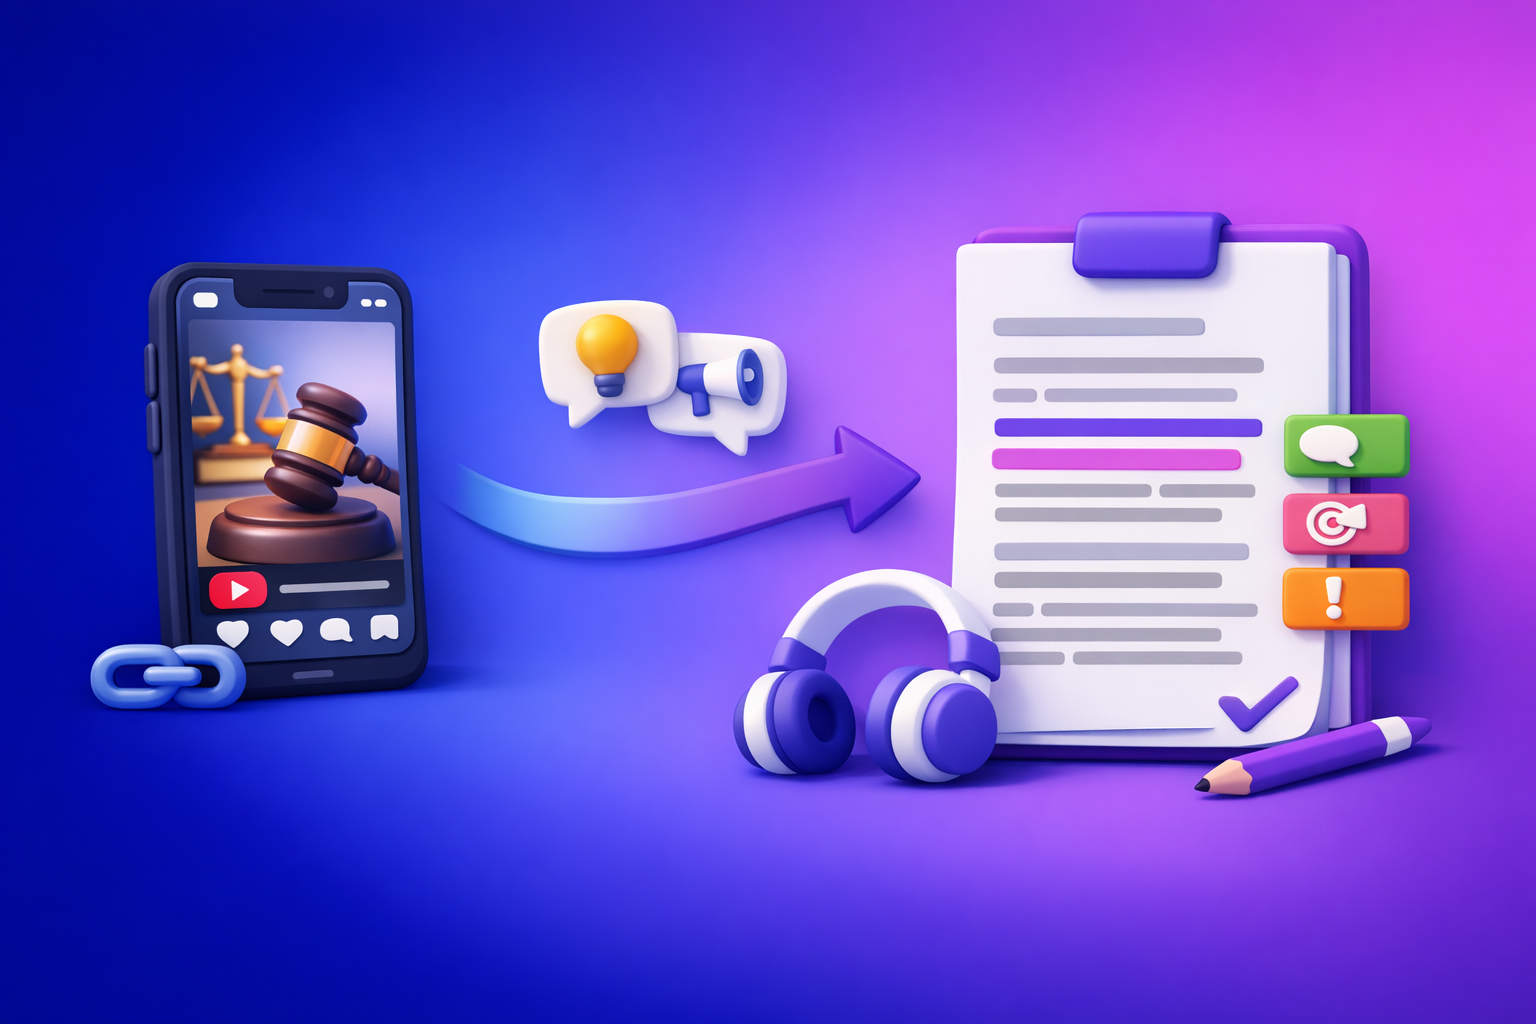
A transcript-first SOP for legal marketing agencies to turn competitor Instagram Reels into a searchable research library—then extract hooks, CTAs, objections, and topic clusters without copying competitor wording.
Happy Scribe Alternative for Instagram Reel Transcripts: Transcript-First Research Workflow (Hooks, CTAs, Objections) with VideoToTextAI
Video To Text AI
Use VideoToTextAI as a Happy Scribe alternative for Instagram Reel transcripts when you want a link-based, transcript-first workflow for competitor research, hook extraction, CTA/objection mining, and fast repurposing—without the download/upload loop.
Repurpose Instagram Reels Into Blog Post Ideas: Transcript-First Workflow (Hooks, CTAs, Objections) with VideoToTextAI
Video To Text AI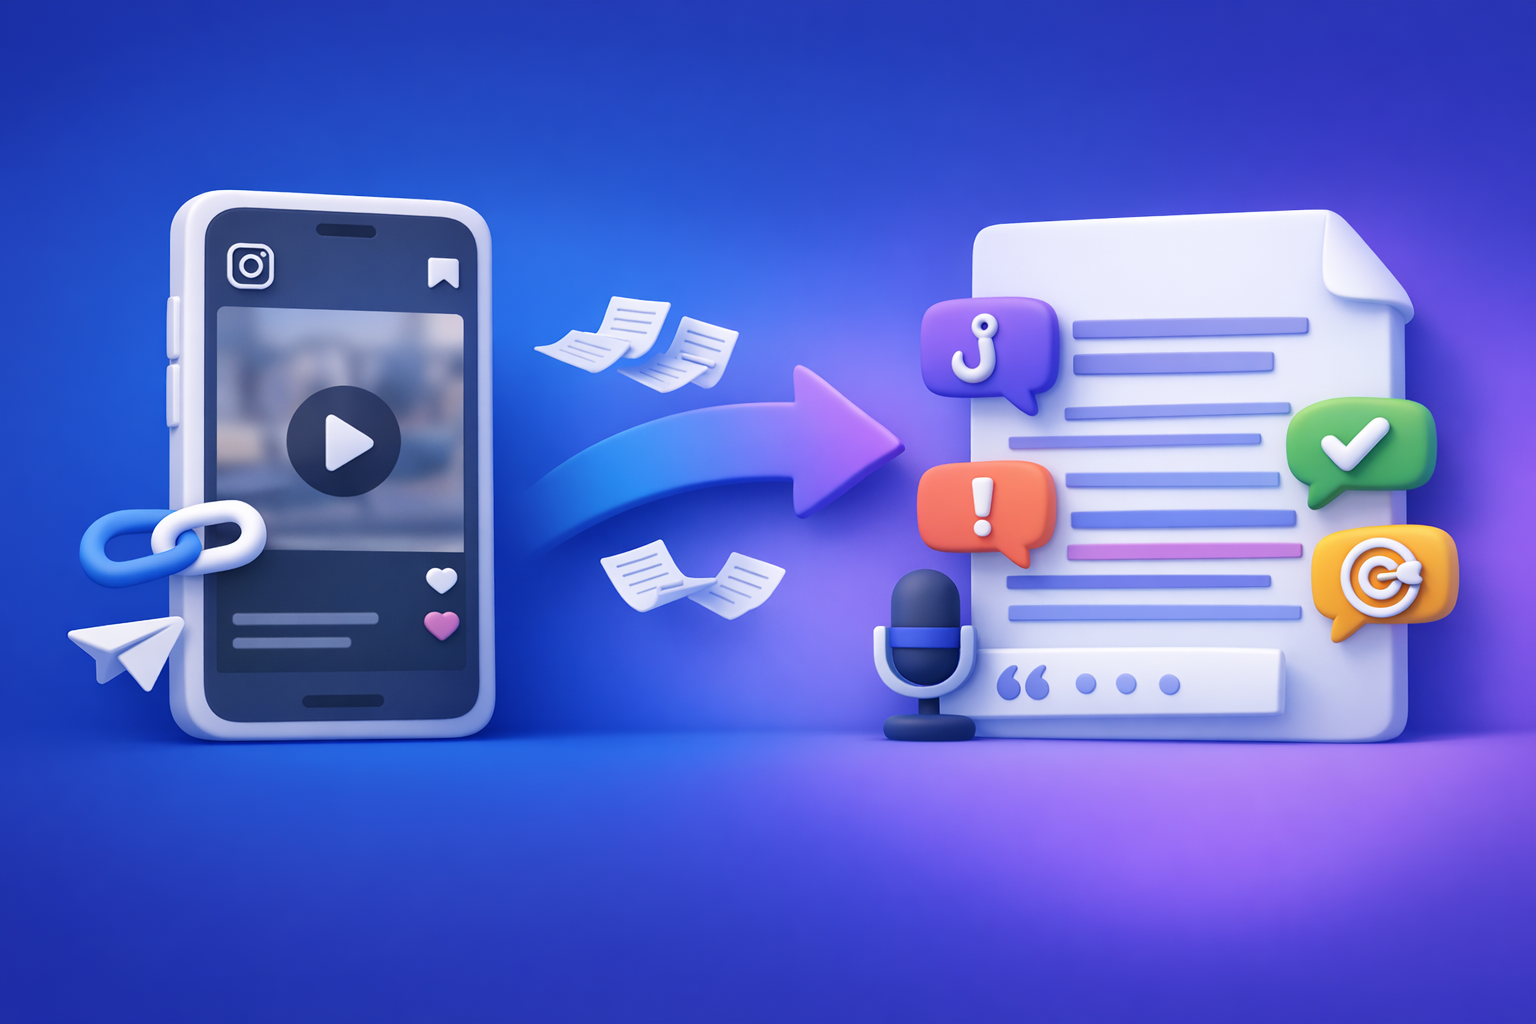
Turn Instagram Reel links into transcripts, then mine hooks, CTAs, objections, and topic clusters to generate SEO-ready blog post ideas and outlines. This transcript-first workflow is faster than watching Reels manually and more reliable for teams, agencies, and regulated niches.