
Video to Text: Convert Any Video Link into a Transcript, Subtitles (SRT/VTT), and Repurposed Content
 Video To Text AI
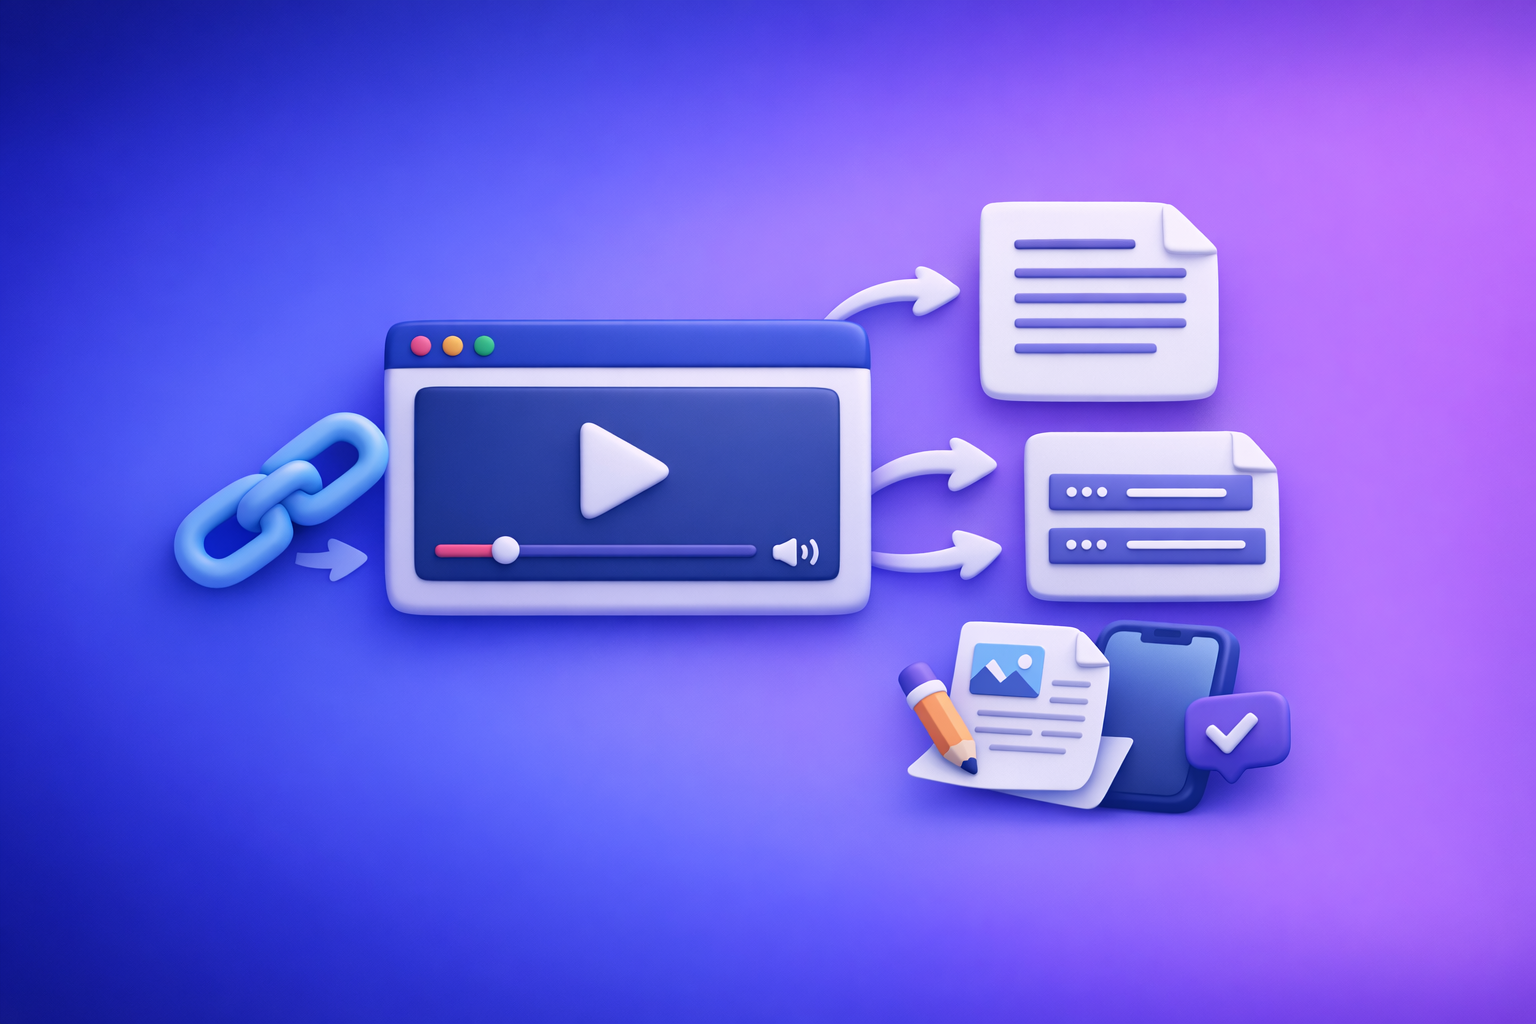
Video to Text: Convert Any Video Link into a Transcript, Subtitles (SRT/VTT), and Repurposed Content
Paste a video link, generate an editable transcript, export SRT/VTT subtitles, then repurpose the same text into posts, summaries, and blog drafts. The fastest workflow is link-based—downloading video files is an outdated bottleneck that slows teams and creators.
Who this guide is for (and what you’ll get)
This guide is for anyone who wants a repeatable “video link → text assets” pipeline that works across platforms and content types.
Use cases by role
- Creators: generate captions fast, then turn Reels/YouTube into post drafts and hooks.
- Marketing teams: build a consistent repurposing pipeline across campaigns and channels.
- Educators: create accessible subtitles and searchable lecture notes for students.
- Podcasters: produce show notes, clip timestamps, and blog drafts from episodes.
Deliverables covered
You’ll walk away with a workflow to produce:
- Editable transcript (clean + speaker-ready)
- Subtitle files: SRT + VTT
- Repurposed assets: summaries, posts, blog drafts, and translations
If you want a deeper walkthrough of the same pipeline, see: How to Turn Any Video Link into a Transcript, Subtitles (SRT/VTT), and Repurposed Content (Step-by-Step).
What “video-to-text from a link” means (and why it’s faster than uploads)
“Video-to-text from a link” means the tool pulls audio directly from a URL and generates text outputs—without you downloading, renaming, compressing, and re-uploading files.
That “download-first” habit is legacy workflow. Link-based extraction is the future of creator productivity because it’s faster, easier to hand off, and easier to standardize.
Supported sources (examples)
Common link inputs include:
- YouTube links
- Public social links (for example, Instagram Reels)
- Hosted MP4 links (direct URLs to video files)
For platform-specific workflows, you can also use:
Link-based workflow vs file-based workflow
When link-based wins (most of the time):
- Speed: paste URL → generate outputs in minutes.
- Repeatability: same steps for every video; easy SOPs.
- Team handoff: share a link, not a 1–3GB file.
- Fewer failure points: no corrupted uploads, no wrong versions.
When file upload is required:
- Private videos behind logins
- Local MP4s not hosted anywhere
- Restricted platforms where the URL isn’t accessible to tools
If you’re building a standardized process, treat file uploads as the exception—not the default.
Step-by-step: turn a video link into transcript + subtitles + content (implementation)
This is the practical pipeline you can run for every video.
Step 1 — Choose the right input and goal
Decide your output before you generate anything.
- If you need editing + reuse, start with a clean-read transcript.
- If you need compliance or exact wording, request verbatim.
- If you need on-screen captions, prioritize subtitle exports (SRT/VTT).
Pick format requirements up front:
- Plain text / DOC: best for editing and repurposing.
- SRT: best for most editors and social platforms.
- VTT: best for web players and accessibility workflows.
If your end goal is “video → article,” you can also route directly into a specialized workflow like youtube to blog.
Step 2 — Paste the video URL and generate the first transcript
Paste the URL and generate the first pass transcript.
Verify these immediately (before you edit):
- Language: confirm the correct source language.
- Audio quality: listen for noise, music, or echo.
- Duration: long videos may need segmentation for best results.
Choose the transcript style:
- Verbatim: includes filler words and false starts; useful for legal/compliance or detailed analysis.
- Clean-read: removes most filler and improves readability; best for publishing and repurposing.
If you’re building a repeatable SOP, default to clean-read and only switch to verbatim when required.
Step 3 — Edit the transcript for accuracy and reuse
AI transcription is a draft. Your job is to make it publish-ready.
Focus edits on high-impact accuracy fixes:
- Names: people, brands, product names, locations
- Jargon + acronyms: industry terms, internal abbreviations
- Numbers: dates, prices, measurements, stats
- Timestamps: keep only if you’ll use them for clips or show notes
Formatting upgrades that improve reuse:
- Add speaker labels when there are multiple voices.
- Insert paragraph breaks every 1–3 ideas (scannability matters).
- Create quote-ready sections by highlighting strong one-liners and key claims.
For podcast-style content, a dedicated workflow can help: podcast transcription.
Step 4 — Export subtitles (SRT/VTT) correctly
Subtitles are not just “transcript with timestamps.” They’re a readability product.
When to use SRT
- Most video editors
- Many social and distribution platforms
- When you want maximum compatibility
When to use VTT
- HTML5/web players
- Accessibility workflows
- When your player expects WebVTT specifically
Timing sanity checks (do these every time):
- Line length: avoid long lines that wrap awkwardly on mobile.
- Reading speed: if you can’t read it comfortably, split it.
- No overlap: captions should not collide or stack incorrectly.
- Sync: captions should appear when speech starts, not after.
If you’re specifically captioning Reels, use a dedicated guide: How to Generate Subtitles (SRT & VTT Files) for Your Instagram Reels.
Step 5 — Repurpose the transcript into publish-ready assets
Once the transcript is clean, repurposing becomes a structured rewrite—not a blank page.
Turn transcript into a blog post draft
Use the transcript as source material, then impose a publishing structure:
- Extract an outline from topic shifts and repeated themes.
- Convert key points into H2/H3 sections.
- Add missing pieces: definitions, examples, steps, and context.
- End with a clear CTA aligned to the video’s goal (subscribe, demo, download, etc.).
If you want a full workflow hub for link-based repurposing, see: Video to Text Workflow: Turn Any Video Link into Transcripts, Subtitles (SRT/VTT), and Repurposed Content.
Turn transcript into social posts
A reliable method is: hook → beats → narrative.
- Hook extraction: take the first 3–8 seconds (or the strongest claim) and make it the first line.
- Convert the middle into 3–5 beats (bullets).
- Rewrite into a short narrative with one idea per paragraph.
Practical templates:
- “If you’re doing X, stop. Do Y instead. Here’s how…”
- “3 mistakes I see with X (and the fix for each)…”
- “The fastest way to get from A to B is…”
Turn transcript into summaries
Summaries are easiest when you standardize outputs:
- 3-bullet executive summary: what it is, why it matters, what to do next
- TL;DR: 1–2 sentences
- Key takeaways: 3–7 bullets
- Action steps: a short checklist someone can follow today
Step 6 — Quality control before publishing
Quality control is what separates “generated” from “usable.”
Subtitle preview checklist (timing + readability)
- Captions appear on time (no lag)
- No overlapping captions
- Lines are short enough for mobile
- Punctuation improves clarity (not clutter)
Transcript QA checklist (accuracy + formatting)
- Names/brands correct
- Numbers verified
- Speaker labels consistent
- Paragraphs are scannable
Repurposed content QA (claims, links, CTA, brand voice)
- Claims match what was actually said
- Any links or references are correct
- CTA matches the original video intent
- Tone is consistent with your brand voice
Common mistakes (and how to fix them fast)
Mistake: relying on raw transcript without cleanup
Raw transcripts often include filler, misheard terms, and messy formatting.
Fix: do a clean-read pass and correct terminology (names, acronyms, numbers). Then reformat into short paragraphs for scanning.
Mistake: exporting the wrong subtitle format
Teams lose time when they export VTT but the editor needs SRT (or vice versa).
Fix: map destination → requirement:
- Editor/platform unknown? Export SRT first.
- Web player/accessibility workflow? Export VTT.
Mistake: captions that are too dense to read
Dense captions reduce watch time and comprehension.
Fix:
- Keep lines short
- Split long sentences
- Remove non-essential filler
- Prioritize readability over perfect verbatim accuracy (unless required)
Mistake: repurposed content that doesn’t match the original intent
Repurposing fails when the post/blog drifts away from the video’s thesis.
Fix: extract these first:
- Thesis: the main claim in one sentence
- Audience: who it’s for
- CTA: what the viewer should do next
Then write the repurposed asset to support that structure.
Troubleshooting: when your transcript/subtitles aren’t usable
Audio issues
Common problems:
- Background noise
- Music under speech
- Multiple speakers talking over each other
- Low volume or echo
Workarounds:
- Segment the content: process shorter sections if possible.
- Reprocess after selecting the correct language (wrong language can look like “bad audio”).
- Use a speaker labeling strategy: label only when the speaker changes, and keep labels consistent.
Language and accents
If the transcript is “close but wrong,” it’s often a language/accent mismatch.
Fixes:
- Confirm the source language explicitly.
- Avoid mixed-language outputs unless that’s intentional.
- If the video switches languages, consider splitting by section and processing separately.
Timing drift in subtitles
Drift usually happens when the source video has edits/cuts or variable speech rate.
Causes:
- The link points to a version different from the one you’re editing
- The video has jump cuts that change pacing
- The subtitle timing was generated against a different audio track
Fix:
- Regenerate using the correct source link (same exact version).
- If needed, re-time in an editor after export (especially for heavily edited content).
Checklist: copy/paste workflow for repeatable video-to-text production
Use this as your SOP for every video.
Transcript checklist
- Correct language selected
- Names/brands corrected
- Numbers/units verified
- Speaker labels added (if needed)
- Paragraphs and headings added for scanning
Subtitle checklist (SRT/VTT)
- Correct format exported (SRT or VTT)
- Line length readable on mobile
- No overlapping captions
- Timing matches speech (no drift)
Repurposing checklist
- Hook extracted
- 3–5 key points pulled as bullets
- CTA aligned to the original video goal
- Final asset matches platform constraints (length/format)
Competitor Gap
What most pages miss (and what this post includes)
Most “video to text” pages stop at transcription. That’s not the real workflow teams need.
This post includes what competitors typically omit:
- A complete link → transcript → SRT/VTT → repurposing pipeline (not just “transcribe a video”)
- Implementation steps with decision points (format, cleanup level, destination)
- Troubleshooting for accuracy and subtitle timing drift
- Reusable checklists for transcript, subtitles, and repurposed assets
- Clear internal paths to specialized workflows (Instagram, YouTube, MP4, podcast)
For more Instagram-specific workflows, see: Instagram Reels to Text Hub: 10 Workflows to Transcribe, Summarize, Translate, and Repurpose (2026).
FAQ (People Also Ask)
How do I convert a video link into text?
Use a link-based workflow: paste the URL, select language and output type, generate the transcript, then edit for names/numbers and export to the format you need (text, SRT, or VTT). Link-based extraction is faster and more repeatable than downloading and uploading files.
What’s the difference between SRT and VTT subtitle files?
SRT is the most universally supported subtitle format across editors and platforms. VTT (WebVTT) is commonly used for web/HTML5 players and accessibility workflows and may support additional features depending on the player.
Can I generate subtitles automatically from a transcript?
Yes, as long as the subtitle generator can align text to the audio timing. For best results, generate subtitles from the same source link/audio used to create the transcript, then run timing checks (line length, reading speed, overlap, drift).
How accurate are AI video transcripts, and how do I improve accuracy?
Accuracy depends on audio clarity, speaker overlap, and correct language selection. Improve accuracy by confirming language, doing a clean-read edit pass, correcting terminology/names/numbers, and regenerating from the correct source if the transcript seems off.
Can I turn a transcript into a blog post or LinkedIn post automatically?
You can generate a strong first draft automatically, but you’ll get better results by applying a structure: extract the thesis, outline the key points into H2/H3 sections, add examples/definitions, and align the CTA to the original video’s goal.
If you want a link-first workflow that outputs transcripts, SRT/VTT subtitles, and repurposed drafts without the download/upload mess, use VideoToTextAI: https://videototextai.com.
Related posts
Legal Marketing Agency Instagram Reel Competitor Research: Transcript‑First Workflow (Hooks, CTAs, Objections) with VideoToTextAI
Video To Text AI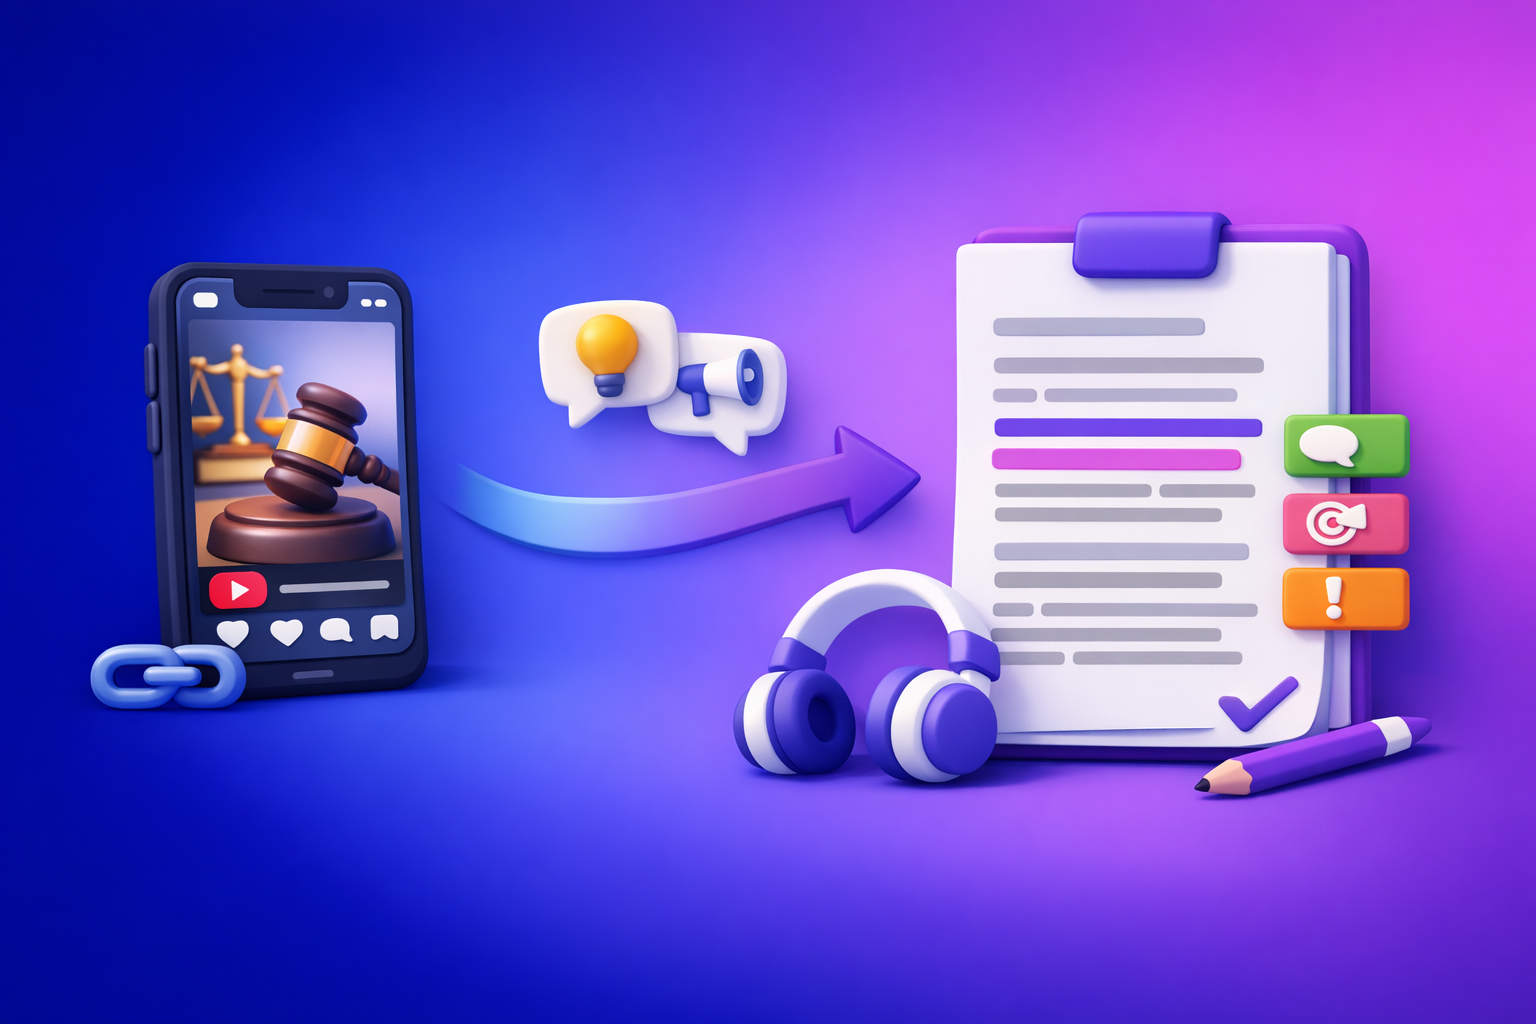
A transcript-first SOP for legal marketing agencies to turn competitor Instagram Reels into a searchable research library—then extract hooks, CTAs, objections, and topic clusters without copying competitor wording.
Happy Scribe Alternative for Instagram Reel Transcripts: Transcript-First Research Workflow (Hooks, CTAs, Objections) with VideoToTextAI
Video To Text AI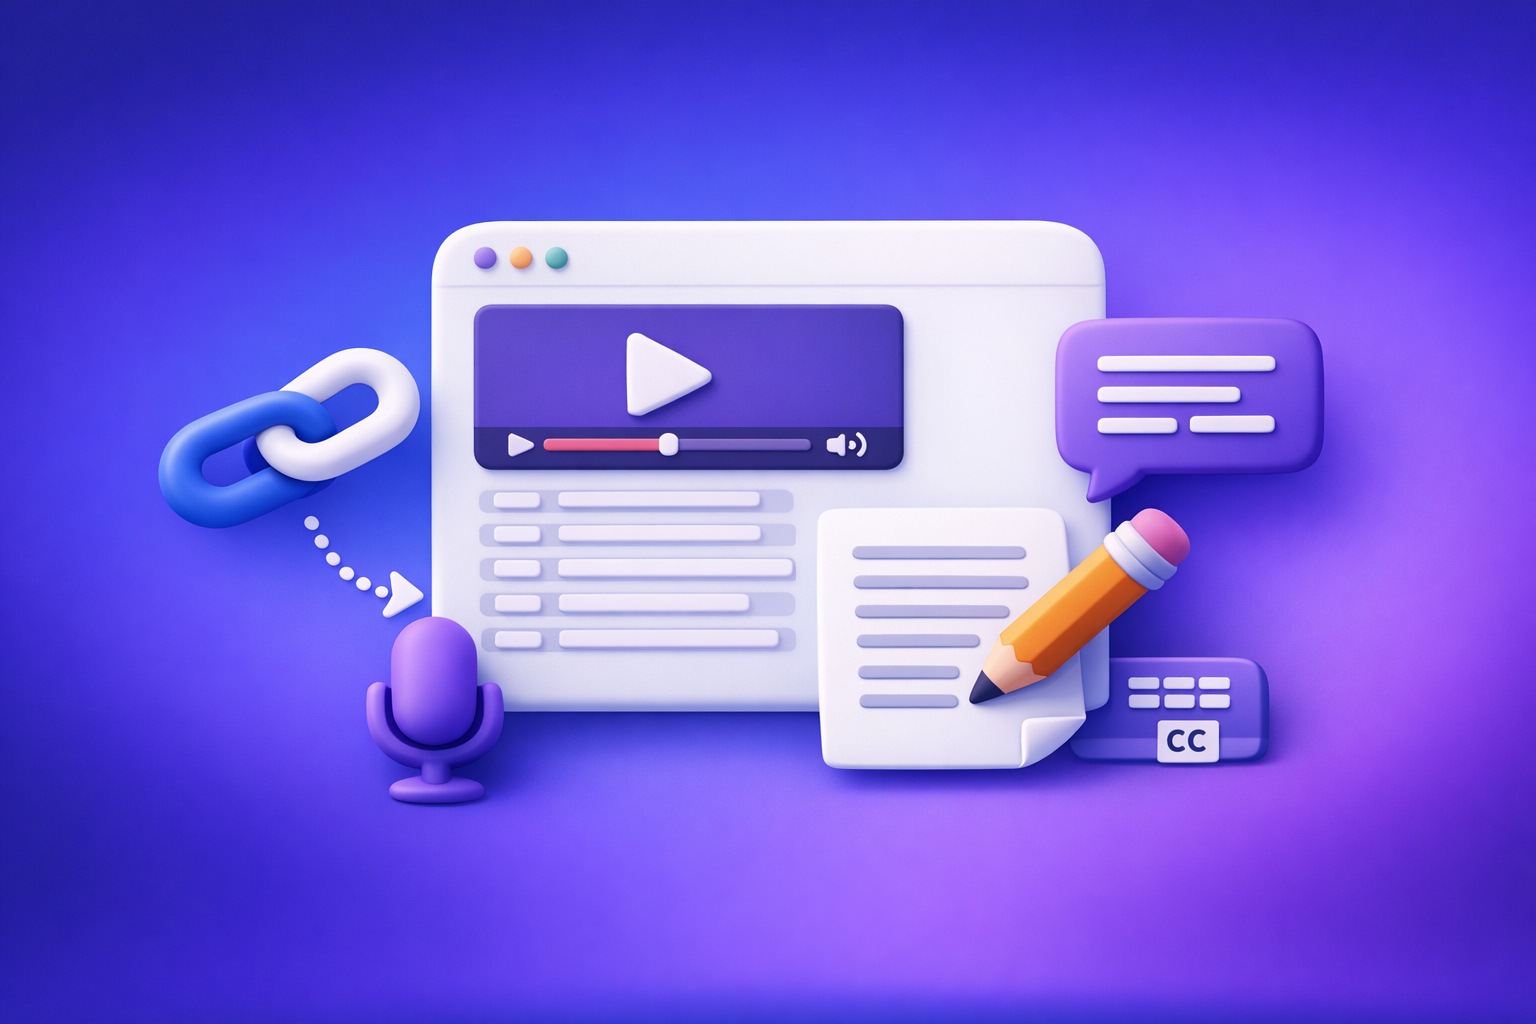
Use VideoToTextAI as a Happy Scribe alternative for Instagram Reel transcripts when you want a link-based, transcript-first workflow for competitor research, hook extraction, CTA/objection mining, and fast repurposing—without the download/upload loop.
Repurpose Instagram Reels Into Blog Post Ideas: Transcript-First Workflow (Hooks, CTAs, Objections) with VideoToTextAI
Video To Text AI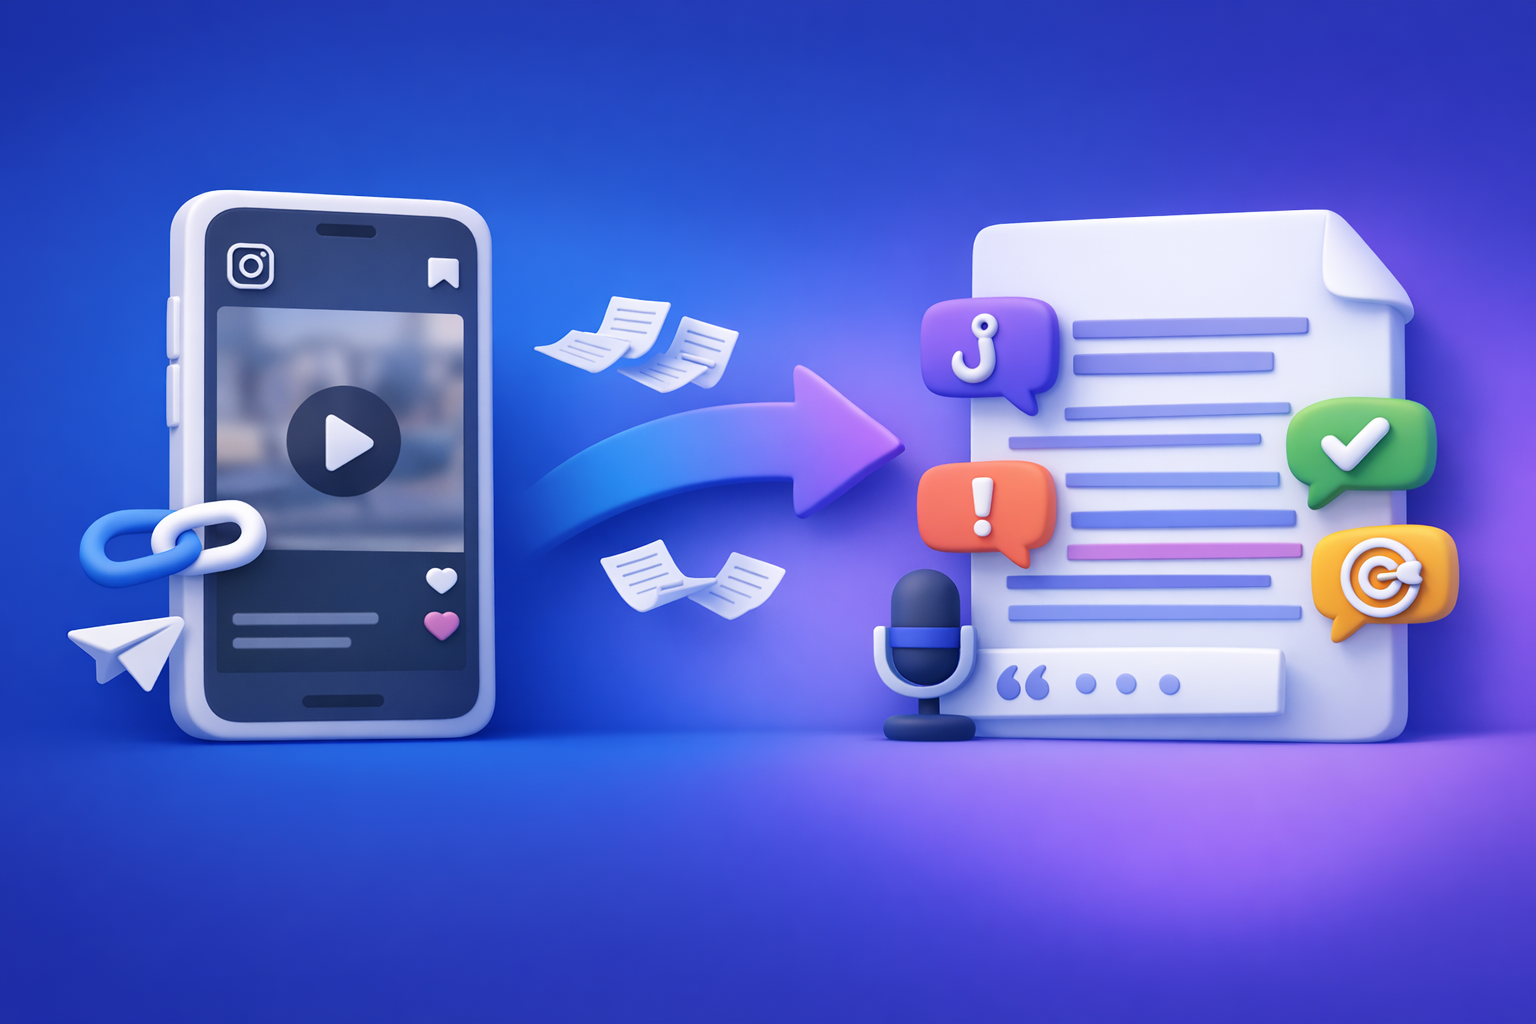
Turn Instagram Reel links into transcripts, then mine hooks, CTAs, objections, and topic clusters to generate SEO-ready blog post ideas and outlines. This transcript-first workflow is faster than watching Reels manually and more reliable for teams, agencies, and regulated niches.