
How to Get Started with VideoToTextAI: Complete Onboarding Guide
 Video To Text AI
You do not need to configure a complicated project before using VideoToTextAI. The shortest path is: create an account, answer four onboarding questions, add one source, and open the finished transcript.
This guide follows the current VideoToTextAI product flow. It covers both sides of the workspace:
- Files for video and audio stored on your device
- Social for public Instagram Reel and TikTok links
By the end, you will know how to create your first transcript, correct it, translate it, turn it into other content, and export it in the format you need.
VideoToTextAI quick start
If you want the condensed version, follow this sequence:
- Create a free VideoToTextAI account.
- Complete the four-question onboarding survey—or choose Skip for now.
- Open Files for a local audio/video file or Social for an Instagram Reel or TikTok link.
- Choose the spoken language and any transcription options.
- Start the transcription and wait for the item to finish processing.
- Open the result, review the text, and save any corrections.
- Copy the transcript or download TXT, SRT, or VTT.
For a smooth first test, use a short video with clear speech. A two- to five-minute source is long enough to explore the editor without spending much of your credit balance.
Before you begin: understand files, links, and credits
The right input path depends on where your media lives.
| Your source | Where to start | What to provide |
|---|---|---|
| A video or audio file on your device | Files | MP3, MP4, MPEG, MPGA, M4A, WAV, OGG, WebM, or MOV |
| A public Instagram Reel | Social | The Reel URL |
| A public TikTok | Social | The canonical TikTok video URL |
| A YouTube or Vimeo video | Files | A video or audio file you are allowed to download and transcribe |
| A meeting, interview, podcast, or voice note | Files | The exported recording |
VideoToTextAI measures transcription usage in credits: one credit equals one minute of transcription. The current Free plan includes 60 credits per month, accepts files up to 500 MB, and allows two supported social-link imports every 24 hours. Free-plan files expire after 10 days, so download anything you want to keep.
Plan details can change, so check the live VideoToTextAI pricing page before starting a large batch.
Step 1: Create your VideoToTextAI account
Go to videototextai.com and select Sign up, or open the signup page directly. Continue with Google or use your email address, then follow the verification instructions shown on screen.
If you pasted a supported social link on the homepage before signing up, VideoToTextAI keeps that destination as you move through account creation. After authentication, you are sent into the workspace.
Already registered? Use Log in instead. Your files, social transcriptions, credit balance, and account settings are tied to your account.
Step 2: Complete the four onboarding questions
The first time you enter the signed-in workspace, VideoToTextAI opens a window titled Help us personalize your workspace. It contains four multiple-choice questions:
- What best describes you? Choose the closest role, such as content creator, social media manager, podcaster/video producer, business professional, or agency/freelancer.
- What's your main use case? Select transcription and subtitles, content repurposing, Instagram research, or meeting notes.
- Which content source do you process most often? Pick short-form video, long-form video, podcasts/interviews, or meetings/calls.
- How much audio/video do you process per week? Choose the range that best matches your normal workload.
Select one answer on each screen, use Next to continue, and choose Finish after question four. The whole survey usually takes less than a minute.
You can choose Skip for now if you want to reach the workspace immediately. The questionnaire is not a technical setup wizard: there are no folders, integrations, or templates you must configure before creating a transcript.
Step 3: Add your first source
Choose one of the two input paths below. For your first run, process one short source whose spoken content you already know; that makes the accuracy check easier.
Option A: upload a local video or audio file
Open Files in the left sidebar, then:
- Select Choose Files and pick one or more files.
- Confirm the spoken language.
- Turn on Enable Speaker Recognition if you have Pro and need separate speakers.
- Leave Improve Captions Time Accuracy enabled when you expect to export timed subtitles.
- Review the estimated credit cost and select Upload.
The current supported extensions are MP3, MP4, MPEG, MPGA, M4A, WAV, OGG, WebM, and MOV. The Free plan accepts files up to 500 MB; Pro accepts files up to 10 GB.
Choose the actual spoken language, not the language you want for the final output. Translation happens after transcription. For example, if the recording is in Spanish and you need an English transcript, transcribe it as Spanish first and create the English translation from the finished result.
Speaker Recognition is most useful when turns matter—interviews, customer calls, meetings, panel discussions, and podcasts. For a single narrator, leave it off.
Option B: paste an Instagram Reel or TikTok link
Open Social in the left sidebar. Paste a public Instagram Reel URL or a canonical TikTok video URL, choose a language or Auto-detect, and select Transcribe link.
The Social workflow retrieves the video, transcribes the speech, and adds the result to Recent Social Transcriptions. Free accounts can process two supported links every 24 hours. Pro removes that daily limit and unlocks multiline input for processing multiple links in a batch.
Direct-link import is intentionally limited to supported Instagram and TikTok URLs. If you have a YouTube video, Vimeo video, webinar, Zoom recording, or another source, export or download media you have permission to use and upload the file through Files.
Step 4: Let VideoToTextAI process the source
After submission, the new item appears in your workspace and moves through upload and transcription states. A social import shows its progress through fetching, transcribing, and finalizing.
Keep the page open while the initial upload is being prepared. Once a social job is running, its card remains in the account and the interface tells you when it is safe to leave. Processing time depends on source length, audio quality, and current demand.
If a local file reaches Uploaded but transcription has not started, open the three-dot menu on its card and select Transcribe. If a retryable job fails, the same menu offers Retry and the error message identifies the failed stage.
When processing is complete, select the file card. Regular uploads open the text workspace; Instagram and TikTok sources open the Short-Form Studio.
Step 5: Review and correct the transcript
Treat the first AI result as a strong draft, not an untouchable record. Listen to names, numbers, product terms, acronyms, and sections with background noise while reading the corresponding text.
For regular uploads, the Text workspace provides several focused views:
- Text for editing the continuous transcript
- Subtitles for reviewing timed segments
- Translations for creating another language version
- Format for line breaks and caption layout
- Speakers and Speaker Recognition for diarized recordings
- Find & Replace for fixing repeated names or terms consistently
Use Copy when you need the text in a document, CMS, notes app, or prompt. After making corrections, select Save before leaving the page. VideoToTextAI warns you if you try to navigate away with unsaved edits.
Social sources open in Studio, where the transcript sits beside the source preview and short-form tools. You can copy or export the transcript, create a translation, inspect the content, and generate channel-ready drafts without manually moving the transcript between apps.
Step 6: Export the result you actually need
Open Download in the transcript header and choose a format:
- TXT for a clean transcript you can search, quote, archive, or paste elsewhere
- SRT for timed subtitles supported by most video editors and publishing platforms
- VTT for web players and workflows that prefer WebVTT
Pick the format based on the next destination. If you are writing an article or meeting summary, TXT is usually enough. If you are adding captions in an editor, use SRT. If subtitles will be displayed by a website player, VTT is often the better choice.
Review timing and line breaks before publishing subtitles. Accurate words and readable caption pacing are separate quality checks.
Step 7: Translate or repurpose the transcript
Once the transcript is accurate, it becomes source material for more than subtitles.
Use Translations to create another language version while preserving the original transcript. Keep the original language as the reference when reviewing names, brand terms, and idioms.
Open AI Magic Tools for transformations built around the transcript. The current tool set can:
- summarize the content and extract key points
- turn a cooking video into a structured recipe
- turn a fitness video into a workout
- draft a blog post
- create a Twitter/X thread
- create a LinkedIn post
- extract lyrics
- answer questions through Chat with Transcript
Generate only the output that fits your goal. A clean transcript is the reusable source of truth; summaries and social drafts are derived outputs that should still receive a human review.
A sensible first-session workflow
If you are unsure what to explore first, use this 10-minute onboarding exercise:
- Upload a two-minute MP4 or paste one public Reel/TikTok link.
- Confirm the source language and start transcription.
- Open the finished result and correct one name or technical term.
- Copy one paragraph to the clipboard.
- Download the transcript as TXT.
- Download SRT and open it in a text editor to see the timestamps.
- Run Summarize Content in AI Magic Tools.
That single exercise covers the complete workflow: intake, processing, quality control, export, and repurposing.
Common onboarding problems and quick fixes
“Please enter a valid download link”
Use a public Instagram Reel URL or canonical TikTok video URL in Social. Shortened, private, login-gated, removed, or unsupported links may fail. For other platforms, upload a local media file through Files.
The transcript is in the wrong language
For local uploads, select the spoken language before uploading. For social links, try Auto-detect or choose the spoken language explicitly. Use Translations only after the original-language transcript exists.
“Not enough credits”
The interface compares the source duration with your remaining credits before processing. Because one credit equals one minute, a 45-minute recording needs about 45 credits. Try a shorter file or review the available plans and credit options.
A file says “Uploaded” but does not progress
Open the card's three-dot menu and choose Transcribe. If the job shows Failed, read the error details and use Retry when available.
The social-link limit has been reached
Free accounts can process two Instagram/TikTok links every 24 hours. The Social workspace shows when the next link becomes available. Wait for the reset or compare the Pro plan if link processing is part of your daily workflow.
The transcript needs many repeated corrections
Use Find & Replace for a recurring misspelling, then review each match. For future uploads, select the right source language and use the clearest available audio track.
You cannot find an older free-plan file
Free-plan files currently expire after 10 days. Download the transcript and subtitle files after review, and keep your own archive of important outputs.
What to do next
Your first successful transcript is the real end of onboarding. Once you have completed one file from start to finish, build a repeatable workflow around the output you use most:
- Creators can move from Reel to transcript to captions and social drafts.
- Podcasters can enable speaker recognition and turn interviews into show notes.
- Teams can convert meeting recordings into searchable notes and summaries.
- Editors can correct timing and export SRT or VTT.
- Researchers can turn spoken material into text they can search and compare.
Create your free VideoToTextAI account, start with one short source, and keep the original transcript as the foundation for everything you create from it.
For more focused workflows, read How to Transcribe an Audio Recording to Text in 5 Minutes or How to Add Subtitles to a Video Lecture Using AI.
Related posts
Reel Analyser (Instagram Reels): Transcript‑First Competitor Research, Hook/CTA Extraction, and Repurposing Workflow (VideoToTextAI)
Video To Text AI
A 2026 reel analyser should turn Instagram Reel links into a searchable transcript library you can tag for hooks, CTAs, objections, and topic clusters—then export into repurposing-ready drafts without a download/upload loop.
Traducir video de Instagram (Reels) en 2026: workflow transcript-first para traducir, sacar hooks/CTAs y repurpose (con VideoToTextAI)
Video To Text AI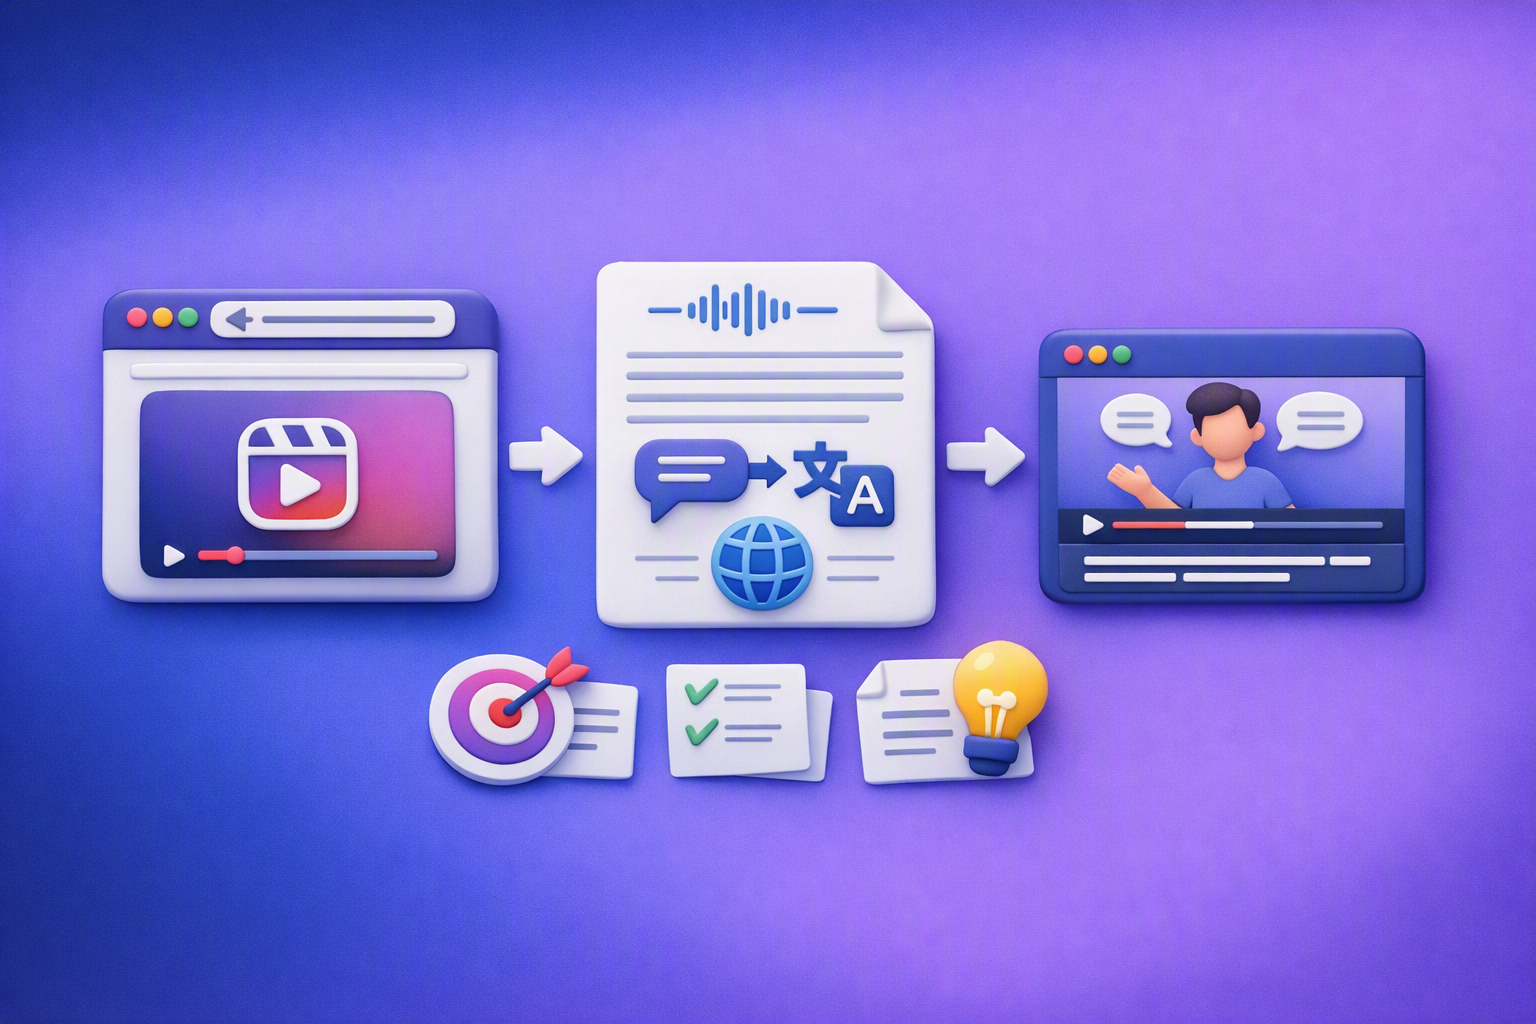
Aprende a traducir un Reel de Instagram con un flujo URL→transcripción→traducción→subtítulos, y a convertir esa traducción en un activo de investigación para hooks, CTAs, objeciones y clusters de contenido.
Reel Analyzer: Transcript‑First Instagram Reels Research (Hooks, CTAs, Objections) + Workflow Guide (VideoToTextAI)
Video To Text AI
A reel analyzer should turn any public Instagram Reel link into a searchable transcript library you can mine for hooks, CTAs, objections, and topic clusters—then repurpose into original drafts with a repeatable SOP.